This post has been constructed using the vSphere 6.0 Release Candidate (RC – Build 2175370)
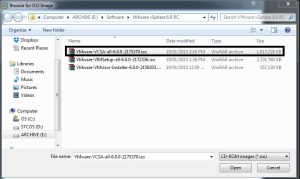
If you have been used to vCSA in previous vSphere versions, the OVA file has now been replaced by an ISO image, that you need to mount to a Windows Guest OS. There is a HTML 5 script that you run to step through the wizard and install the vCenter Server Appliance to a remote ESXi host.
Why has VMware changed their process? This method provides a fresh installation of the software each time, the binaries are actively installed and configured rather than deployed from a pre-baked OVA template and then customised via the admin user interface.
Prerequisites
- You have the VCSA 6.0 RC or GA ISO image.
- You have a Windows 7/Windows Server 2012 VM that can be used to remotely install the vCenter Server Appliance.
- You have an ESXi host that has enough resources to host the vCenter Server Appliance.
Install the VMware Client Integration Plug-in
- Mount the file “VMware_VCSA-all-6.0.0-xxxx.iso” to a Windows VM.
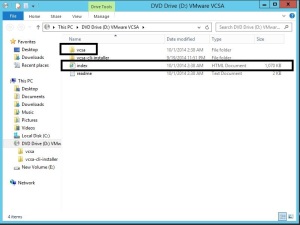
- Access the Console of the Windows 7 VM and browse to the mounted ISO image.
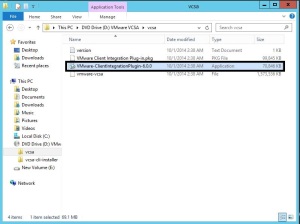
- Open the “vcsa” directory and execute the “VMware-ClientIntegrationPlugin-6.0.0.exe” file.
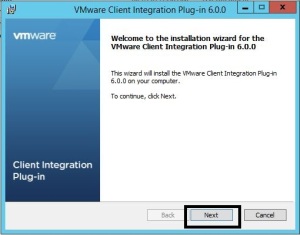
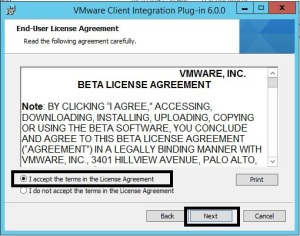
- In the VMware Client Integration Plug-in Installer window, select “Next”.
- Accept the licence agreement and select “Next”.
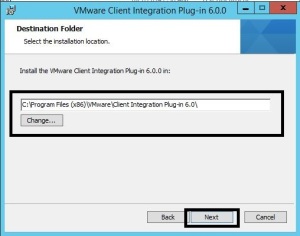
- Leave the “Destination Folder” as default and press “Next”.
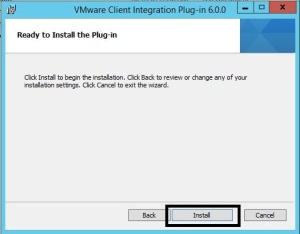
- In the “Ready to Install Plug-in” window, press “Install”.
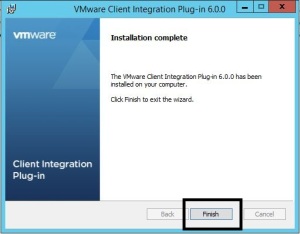
- In the “Installation complete” window, press “Finish”.
Install VCSA to a remote ESXi host
- Access the Console of the Windows VM and browse to the mounted ISO image.
- Double click on the “index.html” file.
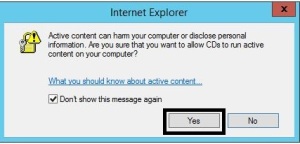
- Select “Yes” to the Internet Explorer “Active content” message.
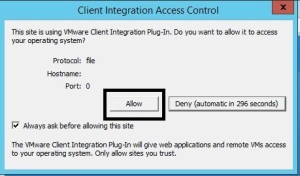
- Select “Allow” to the Client Integration Access Control message.
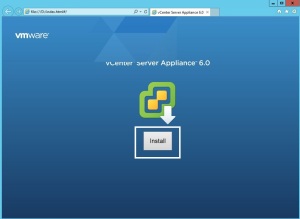
- In the vCenter Server Appliance page, press the “Install” button.
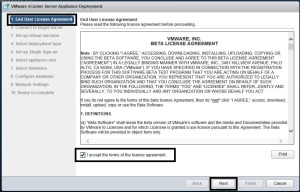
- In the “VMware vCenter Server Appliance Deployment” window, accept the EULA and press “Next”.
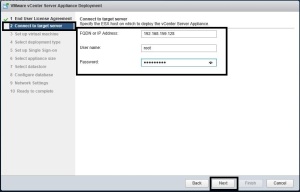
- In the “Connect to target server” window, enter the FQDN or IP Address of the ESXi host, the root credentials and press “Next”.
- Press “OK” to the Certificate Warning.
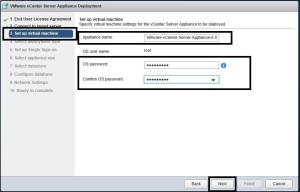
- In the “Set up virtual machine” window, enter the Appliance name of the ESXi host, set the OS root credentials and press “Next”.
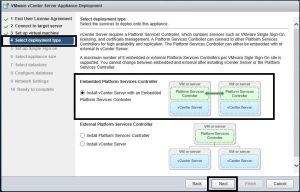
- In the “Select deployment type” window, select “Embedded Platform Services Controller” and press “Next”.
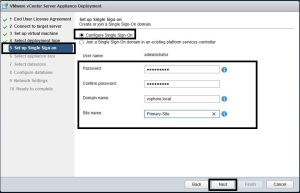
- In the “Set up Single Sign-on” window, select “Configure Single Sign-on”, enter the Password, Domain name, Site name (you now can change the default “vsphere.local”) and press “Next”.
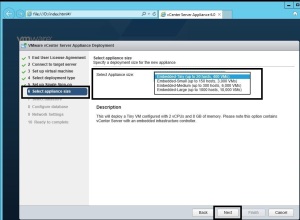
- In the “Select appliance size” window, select “Embedded Tiny, Small, Medium or Large” and press “Next”.
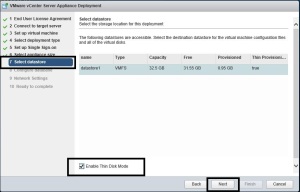
- In the “Select datastore” window, select “destination datastore”, Enable Thin Disk Mode and press “Next”.
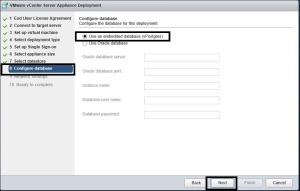
- In the “Configure database” window, select “embedded vPostgres database” and press “Next”.
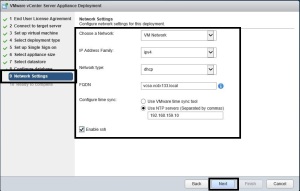
- In the “Network settings” window, select the Network, IPv4/IPv6, Network type, enter the FQDN, NTP settings and press “Next”.
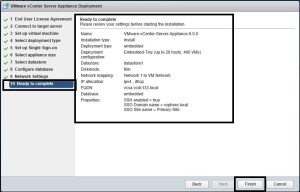
- In the “Ready to complete” window, review the settings and press “Finish”.
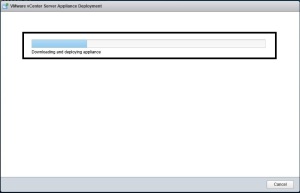
- The process of deploying the vCenter Server Appliance to the remote ESXi host will begin. Be patient, this takes 30 minutes or more.
- In the section below, you can use the vSphere Client to monitor the install and configuration progress and assist in resolving any issues you may have.
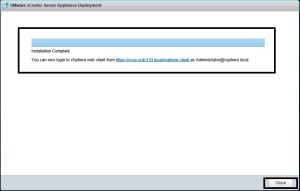
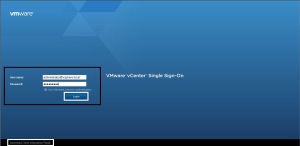
- When the message “Installation Complete” appears, click on the vSphere Web Clienthyperlink and then press “Close”.
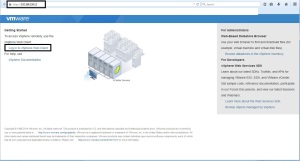
- Enter the Administrator credentials defined earlier and press “Login”. Note that you may have changed the default “administrator@vsphere.local” to something different. If you want to use “Windows session authentication”, you must install the “Client Integration Plugin” (link at bottom left of screen).
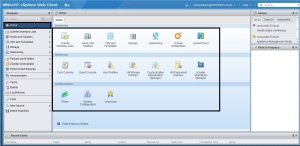
- The vSphere Web Client will open to the “Home” screen.


Monitor the vCSA installation via the vSphere Client
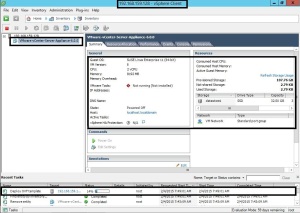
- Use the vSphere Client to connect to the ESXi Host you are deploying VCSA to.
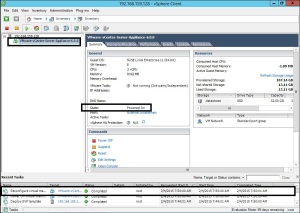
- Verify that the VCSA is deployed (OVF template Status 100%) and powered on.
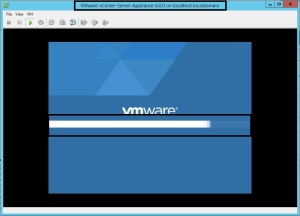
- Open the Console of the VCSA Virtual Appliance and monitor the installation progress bar.
- Also monitor the installation progress bar of the Appliance Deployment window (previous section).
- From the Console of the VCSA Virtual Appliance, the Blue and Gray banner screen will appear and the software installation status will appear.
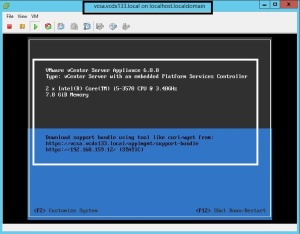
- Once the deployment is complete, the Console will display the URLs for downloading the support bundles. You can now login to the Web Client (previous section). You can press “F2″ in the console to customise the system.